Language

Chasing the aurora? Here’s how to capture northern lights photos on your Android phone
Learn how to photograph the northern lights on an Android phone, with simple settings for Google Pixel, Samsung Galaxy, and more, plus mistakes to avoid.

You’re standing beneath a magnificent sky filled with dancing green and purple lights. You reach for your phone to capture the once-in-a-lifetime moment, but when you check the photo, all you see is a blurry gray smudge.
Most modern Android cameras can capture the northern lights clearly, even revealing colors and details barely visible to the naked eye.
So why did your phone let you down?
The difference between a dull, blurry aurora and a vibrant, clear shot comes down to a few simple camera setting adjustments.
Whether you’re using a Google Pixel, Samsung Galaxy, or another Android device, here’s how to set up your camera and snap aurora photos worth keeping.
| Phone | Mode to use | Starting point |
|---|---|---|
| Google Pixel | Night Sight, Astrophotography | On a tripod, 1x zoom or higher, let it switch to Astro |
| Samsung Galaxy | Pro mode | ISO 800 to 1600, 5 to 10 sec, focus at infinity |
| Other Android | Pro or Night mode | Same manual start, then adjust |
| Any phone, no tripod | Night mode | Brace on a rock, use a timer |
Why your Android camera can see more aurora than you can
Human eyes process light instantly, but long-exposure camera lenses gather light over several seconds. This makes aurora displays appear brighter, greener, and more vibrant on your screen, even when they’re barely visible to the naked eye.
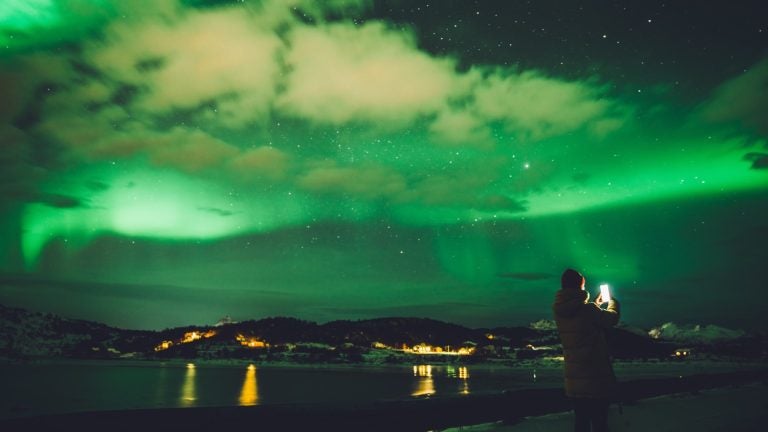
However, this only works if you keep your phone completely still while taking the photo, as even the smallest movement can result in a blurry mess. So instead of immediately splurging on the latest Android model, try using a tripod (or another stable surface).
Older, budget Android devices can still capture good images of the northern lights, especially when the aurora is strong. However, the exact results will depend on your camera’s capabilities.
The gear that matters (spoiler: it fits in a pocket)
Aside from your smartphone, a few small and low-cost accessories can make a surprisingly big difference to the quality of your shots:
- A mini phone tripod: Keeps your phone steady during long exposures to prevent blurry shots and folds up small to fit in your pocket or handbag.
- A power bank: Cold temperatures drain phone batteries faster than usual, so having a backup charge is always a good idea.
- Touchscreen gloves: Let you adjust camera settings without exposing your hands to freezing temperatures.
- A microfiber lens cloth: Handy for wiping away condensation, frost, or fingerprints that could spoil your photos.
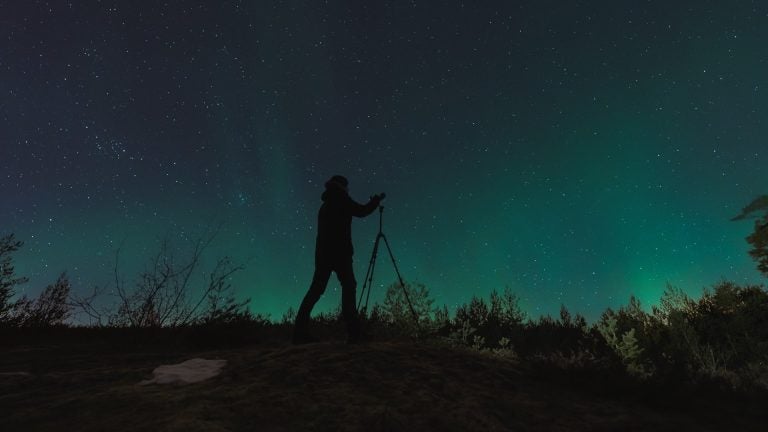
Between shots, keep your phone inside an inner coat pocket close to your body, rather than holding it in your hand. This keeps the device from getting too cold and helps preserve battery life.
How to set up Google Pixel: Let Night Sight switch to Astrophotography
Google Pixel makes capturing the northern lights simple, thanks to Google’s Night Sight mode and Astrophotography mode.
Night Sight mode is specifically designed for low-light photography, while Astrophotography mode is a specialized extension designed for capturing stars or constellations.
To set it up:
- Open your Pixel camera and select Night Sight.
- Mount your phone on a tripod or place it on a completely steady surface.
- Once your camera detects that it’s completely still, it will automatically switch to Astrophotography mode, changing from the crescent moon icon to a star icon. Alternatively, you can switch it manually.
- Press the shutter button and leave the camera completely untouched. Astrophotography mode takes a series of long-exposure shots, often over about 4 minutes.
Composition tip: Avoid pointing your camera directly at the sky. Angle it slightly above the horizon and include something interesting in the foreground, such as a mountain silhouette. This adds depth and gives your aurora photos a stronger sense of place.
How to set up Samsung Galaxy: Take control with Pro mode
For Samsung Galaxy, Pro mode gives you more control over your camera settings than Night mode. With Pro mode, you can adjust how much light your camera captures and how it focuses on the night sky.
Here are some starting points for using Pro mode:
- ISO: Start around 800. If the aurora looks too dark, increase it gradually to 1600, but be careful as higher ISO can introduce grain and noise.
- Shutter speed: Set it between 5 and 10 seconds. A slower shutter speed captures more light, making a faint aurora easier to see. However, it can blur moving lights, so if the stars appear streaky, try a faster shutter speed. The longest shutter you can set depends on your model: recent Galaxy flagships offer up to 30 seconds, while some Galaxy A phones have a shorter limit or no shutter control at all.
- Manual focus: Switch to manual focus and move the slider toward infinity (usually marked with a mountain symbol) to keep distant lights and stars sharp.
- White balance: Start around 3500-4000K to give the sky a more natural color.
If your Galaxy model supports it, set Pro mode picture format to RAW or RAW and JPEG in the Camera settings. RAW files preserve more image information, giving you greater flexibility when editing later.
If you have a compatible phone, mostly Galaxy S flagships and Z Fold or Z Flip models, you can also download Samsung’s separate Expert RAW app from the Galaxy Store. The app has specialized shooting modes like Astrophotography, featuring longer exposure options on supported models.
And if this all sounds too complicated, simply use Night mode instead. It’s a good fallback when the aurora is moving quickly or if you don’t want to adjust settings manually.
Setting up other Android phones: Find the Pro or Night mode
Beyond Google and Samsung, Xiaomi, OnePlus, Motorola, and other Android brands usually let you manually adjust camera settings.
Open your Camera app and look under More, Modes, or Settings for an option called Pro, Expert, or Manual mode. Xiaomi and Motorola call it Pro mode, and recent OnePlus phones use Master mode. If available, you’ll find controls for ISO, shutter speed, focus, and white balance.
If your Android has no manual controls, use Night mode and a tripod.
5 Mistakes that ruin aurora shots on Android
Now that you’ve figured out your Android’s camera settings, be sure to avoid these common mistakes when photographing the northern lights:
- Letting autofocus hunt in the dark: Your camera may struggle to find something to focus on. Switch to manual focus and set it to infinity.
- Using digital zoom: Digital zoom reduces image quality and makes your photos look grainy. Stick to 1x zoom or use your phone’s optical zoom if available.
- Holding your phone during long exposures: Even tiny movements can cause blur. Use a tripod, clamp, or stable surface to keep your phone completely still.
- Leaving the flash on: Your flash won’t illuminate the northern lights and can create unwanted light in the foreground. Switch it off before taking your shot.
- Overdoing saturation when editing: It’s tempting to boost the greens and purples, but too much can make your photos look unnatural. Make subtle adjustments to saturation, contrast, and brightness to preserve the beauty of the real display.
Quick edits on your phone before you share
If you’ve set your camera up correctly, your shots should only need a few small tweaks.
For example, soften any graininess with the Denoise tool in Google Photos or in Samsung’s Galaxy Enhance-X app. You can also adjust the warmth slightly to bring out the natural greens and purples.
Also remember that uploading full-resolution images uses a lot of mobile data, so keep an eye on your usage when you back up your shots away from Wi-Fi.
When and where your Android shots have the best chance
Even perfect camera settings can’t compensate for poor viewing conditions. If you’re flexible with dates, plan your trip for when the aurora season peaks.
Choosing a dark, clear night, ideally around a new moon, will also maximize your chances of seeing a spectacular display.
Location-wise, if you’re in Europe, Tromsø in Norway and Reykjavik in Iceland are among the most popular viewing spots. However, if you choose to see the northern lights in Tromsø or Reykjavik, head away from the city center to minimize light pollution and get clearer shots.
If you’re in the US, you can see the aurora in Fairbanks, Alaska, as the city sits directly under the auroral oval.
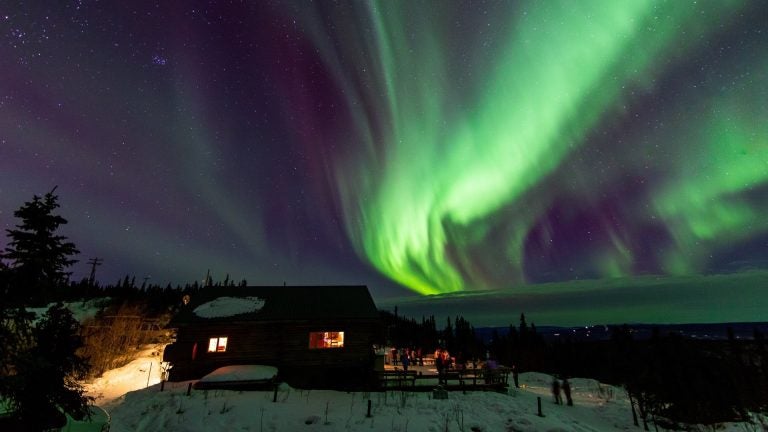
Finally, make sure you’re connected before heading out into the wilderness. Set up a travel eSIM for your Android before you fly so you can check aurora forecasts, navigate to dark viewing spots, and organize transport.
Keep your aurora shots backing up with Holafly
The clearest aurora nights tend to happen far from town, which is exactly where you’ll want to check the forecast, share your location with your group, and back up your photos before the cold drains your battery. A Holafly eSIM keeps your Android online across Norway, Iceland, Finland, Alaska, and beyond, with unlimited data, 5G speeds where available, and 24/7 customer support. Install it before you fly and skip the airport SIM queue.
What’s more, every Holafly eSIM includes Always On, 1 GB of monthly backup data at no additional cost. It stays active as long as the eSIM is installed, renews every month, and works in 150+ destinations. So you’re never stuck waiting for hotel Wi-Fi to send that first green-sky shot to the group chat.
Set up your camera, check the forecast, and let the sky do the rest.

Peace of mind before you fly
Set up your eSIM before travel and get unlimited data on arrival.
Plans that may interest you

Hi, I'm Mika, a South Korean writer living in the US. I cover travel and live events, focusing on the practical stuff that makes your trip smoother, whether you're navigating a new city or heading to a major international event.I'm also the founder of Search SEOul, South Korea's leading SEO conference, bringing together search marketing experts and speakers from around the world.